
Three Tips to Organize Your Google Drive
This post got a much-needed update January 2024!
This is the time of year when many of us notice holes in our digital organizational methods. What started with good intentions has turned into nothing short of a mess! While feels like no small task to tackle the problem, the longer we wait, the worse it gets. The good news is, there are a couple of quick things you can do within your Google Drive that will yield results right away and set you on the path to better digital organization.

Use Folders
When organizing your Google Drive, it’s imperative to use folders. Think about your Google Drive like a file cabinet. Folders keep it organized! Make it a goal to have no orphaned files – sort everything into a folder. You can even put folders inside of folders. I have a folder for every class, along with one for each project and committee I work with. In addition, I created a folder for each school year. At the end of the year, I move everything from that year into its folder. This way I can still access to files for reference, but they are not creating clutter on the main page of my Google Drive.
If this is overwhelming to think about, start small. Create three to five folders, then scroll through your Drive and move any files that belong in one of those folders. Spend ten minutes every day, or every other day, creating folders and moving files. In time, your Google Drive will be in good shape!
And here’s a hint – you can move a file into a folder directly from your Google Drive. Just right click on the file and select “Move To.” You can also select a file by clicking on it and then type the letter Z to do the same thing.
Create a Naming System
While folders will help keep your Google Drive from getting cluttered, it’s important you can still find things when you need to! Using specific naming conventions will definitely help with this. Here are a couple of suggestions:
- When naming multiple files with similar titles, use numbers in the title to show sequence or date. Hint: instead of using one-digit numbers (such as 1) using two or three digits (01 or 001). This will keep the files in sequential order. File titles that begin with numbers will appear before those beginning with letters.
- Use symbols or emojis in the file title. When sorting alphabetically, numbers come before letters and symbols come before numbers. Using an asterisk * at the beginning of a title will move it to the top of the list. Emojis serve a similar purpose and can also provide a visual representation of what’s in the folder. (To access an emoji keyboard on a Mac, use control-command-space. On a PC, hold the Windows button and the period.)
- Folders within a Google Drive can be assigned colors, which many find helps reduce retrieval time. To color code a folder, right click on the folder and select “Change Color.”
- You can “Star” folders and files within Google Drive. Items that are starred will show up in the “Starred” area on the left of the drive. If you are using List View, a star will also appear next to the document title in the list.

Delete Files You Don’t Need
Many people simply have more files than they actually need. While it may seem tedious to go through your entire Google Drive to determine what you should keep and what you should trash, here are a couple of quick things you can do to eliminate unnecessary files.
- Search your Google Drive for anything called “Untitled.” This will probably display multiple documents or projects you started but never finished and don’t need to keep. Documents you want to keep should be given a title and moved to the appropriate folder right away.
- Next, search your Google Drive for anything called “Copy of _____.” Again, delete any unneeded files. Files that are worth keeping should be re-named and moved to a folder.
- Finally, find and eliminate any duplicate files. While there is not a simple way to search for duplicate files, you can do it without too much trouble by arranging your drive by “List View” and then doing a visual scan for any duplicate files.
A Few More Things to Consider
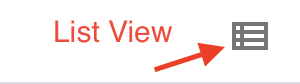
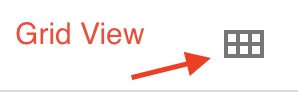
List View vs. Grid View
There is a big debate among users about which is better – List View or Grid View. List View arranges your Google Drive in list form, with folders and the top and files organized alphabetically below in a list. Grid View shows files and folders as tiles and provides a more visual image. While I prefer Grid View, both have their benefits. You can use the icons in the upper right to change the view, or use the V key to toggle between List View and Grid View.
Put Documents in Folders While Editing
While you are editing a document, you can easily add it to a folder. To do this, click on the folder icon to the right of the document title. Then use the arrows to find the appropriate folder. You can even move documents from one folder to another this way. By filing the document right away, you eliminate the need to do so later.
Do the same thing with documents or files that are shared with you. In this case, click on the Drive icon next to the document title and move the file to the appropriate folder in your Drive. It’s never fun having to search through “Shared With Me” to find things you need!
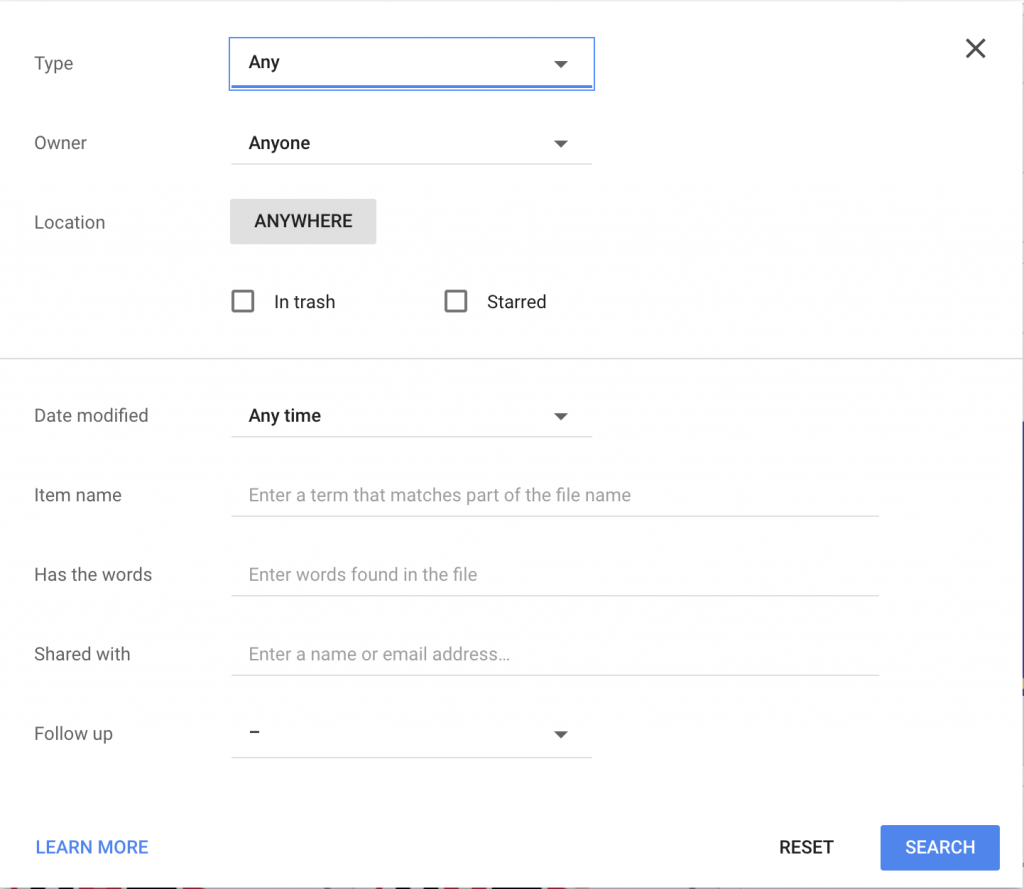
Searching Your Google Drive
You can search your Google Drive not only by file name but also by owner, file type, the date it was last modified, and more! This is especially helpful if you are looking for a document that was shared with you, or if you don’t remember what it was called.
After you have implemented these tips to organize your Google Drive, consider sharing them with your students! Everyone can benefit from digital organization, and it’s much easier to maintain when you have a system to follow. Organization helps you be more productive, since you aren’t wasting time looking for things, and can even help reduce stress that can come from digital clutter. Spend a few minutes organizing your Google Drive. It will be worth the time spent!